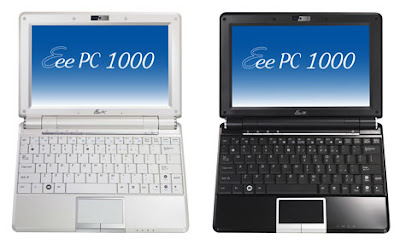
Download the latest driver from:
https://www.asus.com/uk/supportonly/Eee%20PC%201000Linux/HelpDesk_BIOS/
Rename the file to 1000.ROM or 1005P.ROM or any number that matches your Eee PC and copy that to a FAT 32 USB stick.
Start up with the USB stick inserted and hold both ALT and F2 keys pressed during startup of the Eee PC and the BIOS update will run. The screen will show the update process.
Try another USB stick. FAT16 works too and sometimes better. The older the USB stick the more chance it will work.
Big USB sticks do not work, try 2 GB or smaller.
I updated a Eee PC 1000L from 803 to 913 successfully and without any problems.
Later I updated a Eee PC 1000L from 913 to 1003 successfully and without any problems.
I also updated a Eee PC 1005P from 604 to 1202 successfully but I had to use a small (256 MB) FAT16 USB stick to make it work.
After the update the BIOS settings are set to their default values meaning WLAN, bluetooth and camera could be disabled.
You will need to go into the BIOS and change the settings to get them working again. Go to the BIOS by pressing F2 during startup.
This post may be old, but I certainly found it useful this evening. Thanks!
ReplyDeleteStill works in 2021. I had to use a FAT16 USB stick but it worked. Thanks!
ReplyDeleteI had a EEE PC 1000H that had the same problem. It would see the USB stick (FAT16, not FAT32) but it refused to find the file, although it was there and named correctly (1000H.ROM). I took a big flash drive and used DISKPART to make a single 200MB partition and it worked. So there's hope there for those of you who don't have any 256MB flash drives.
ReplyDeleteThank you!!!
ReplyDelete